If you’re thinking about revamping a tired wetroom, preparing a safer environment for a loved one or carrying out maintenance in your mobility bathroom, removing old grout is an important task. Over time grout can deteriorate as well as harbour mould, compromising both hygiene and safety, particularly in accessible bathrooms where cleanliness is paramount.
In this handy guide we’ll walk you through how to remove grout from bathroom tiles safely and effectively. Whether you’re a caregiver or DIY enthusiast, this guide focuses on the specific challenges presented by wetrooms, walk-in showers and mobility bathrooms.
Why Is Removing Grout Important in Mobility Bathrooms?
Grout does more than just hold tiles in place, it prevents water ingress, supports hygiene and contributes to slip prevention. In mobility bathrooms and wetrooms, which are designed to be low-threshold and water-resistant, damaged or mouldy grout can become a safety risk.
Common issues in accessible bathrooms include:
- Persistent dampness, accelerating grout decay
- Higher traffic areas like walk-in showers causing faster wear
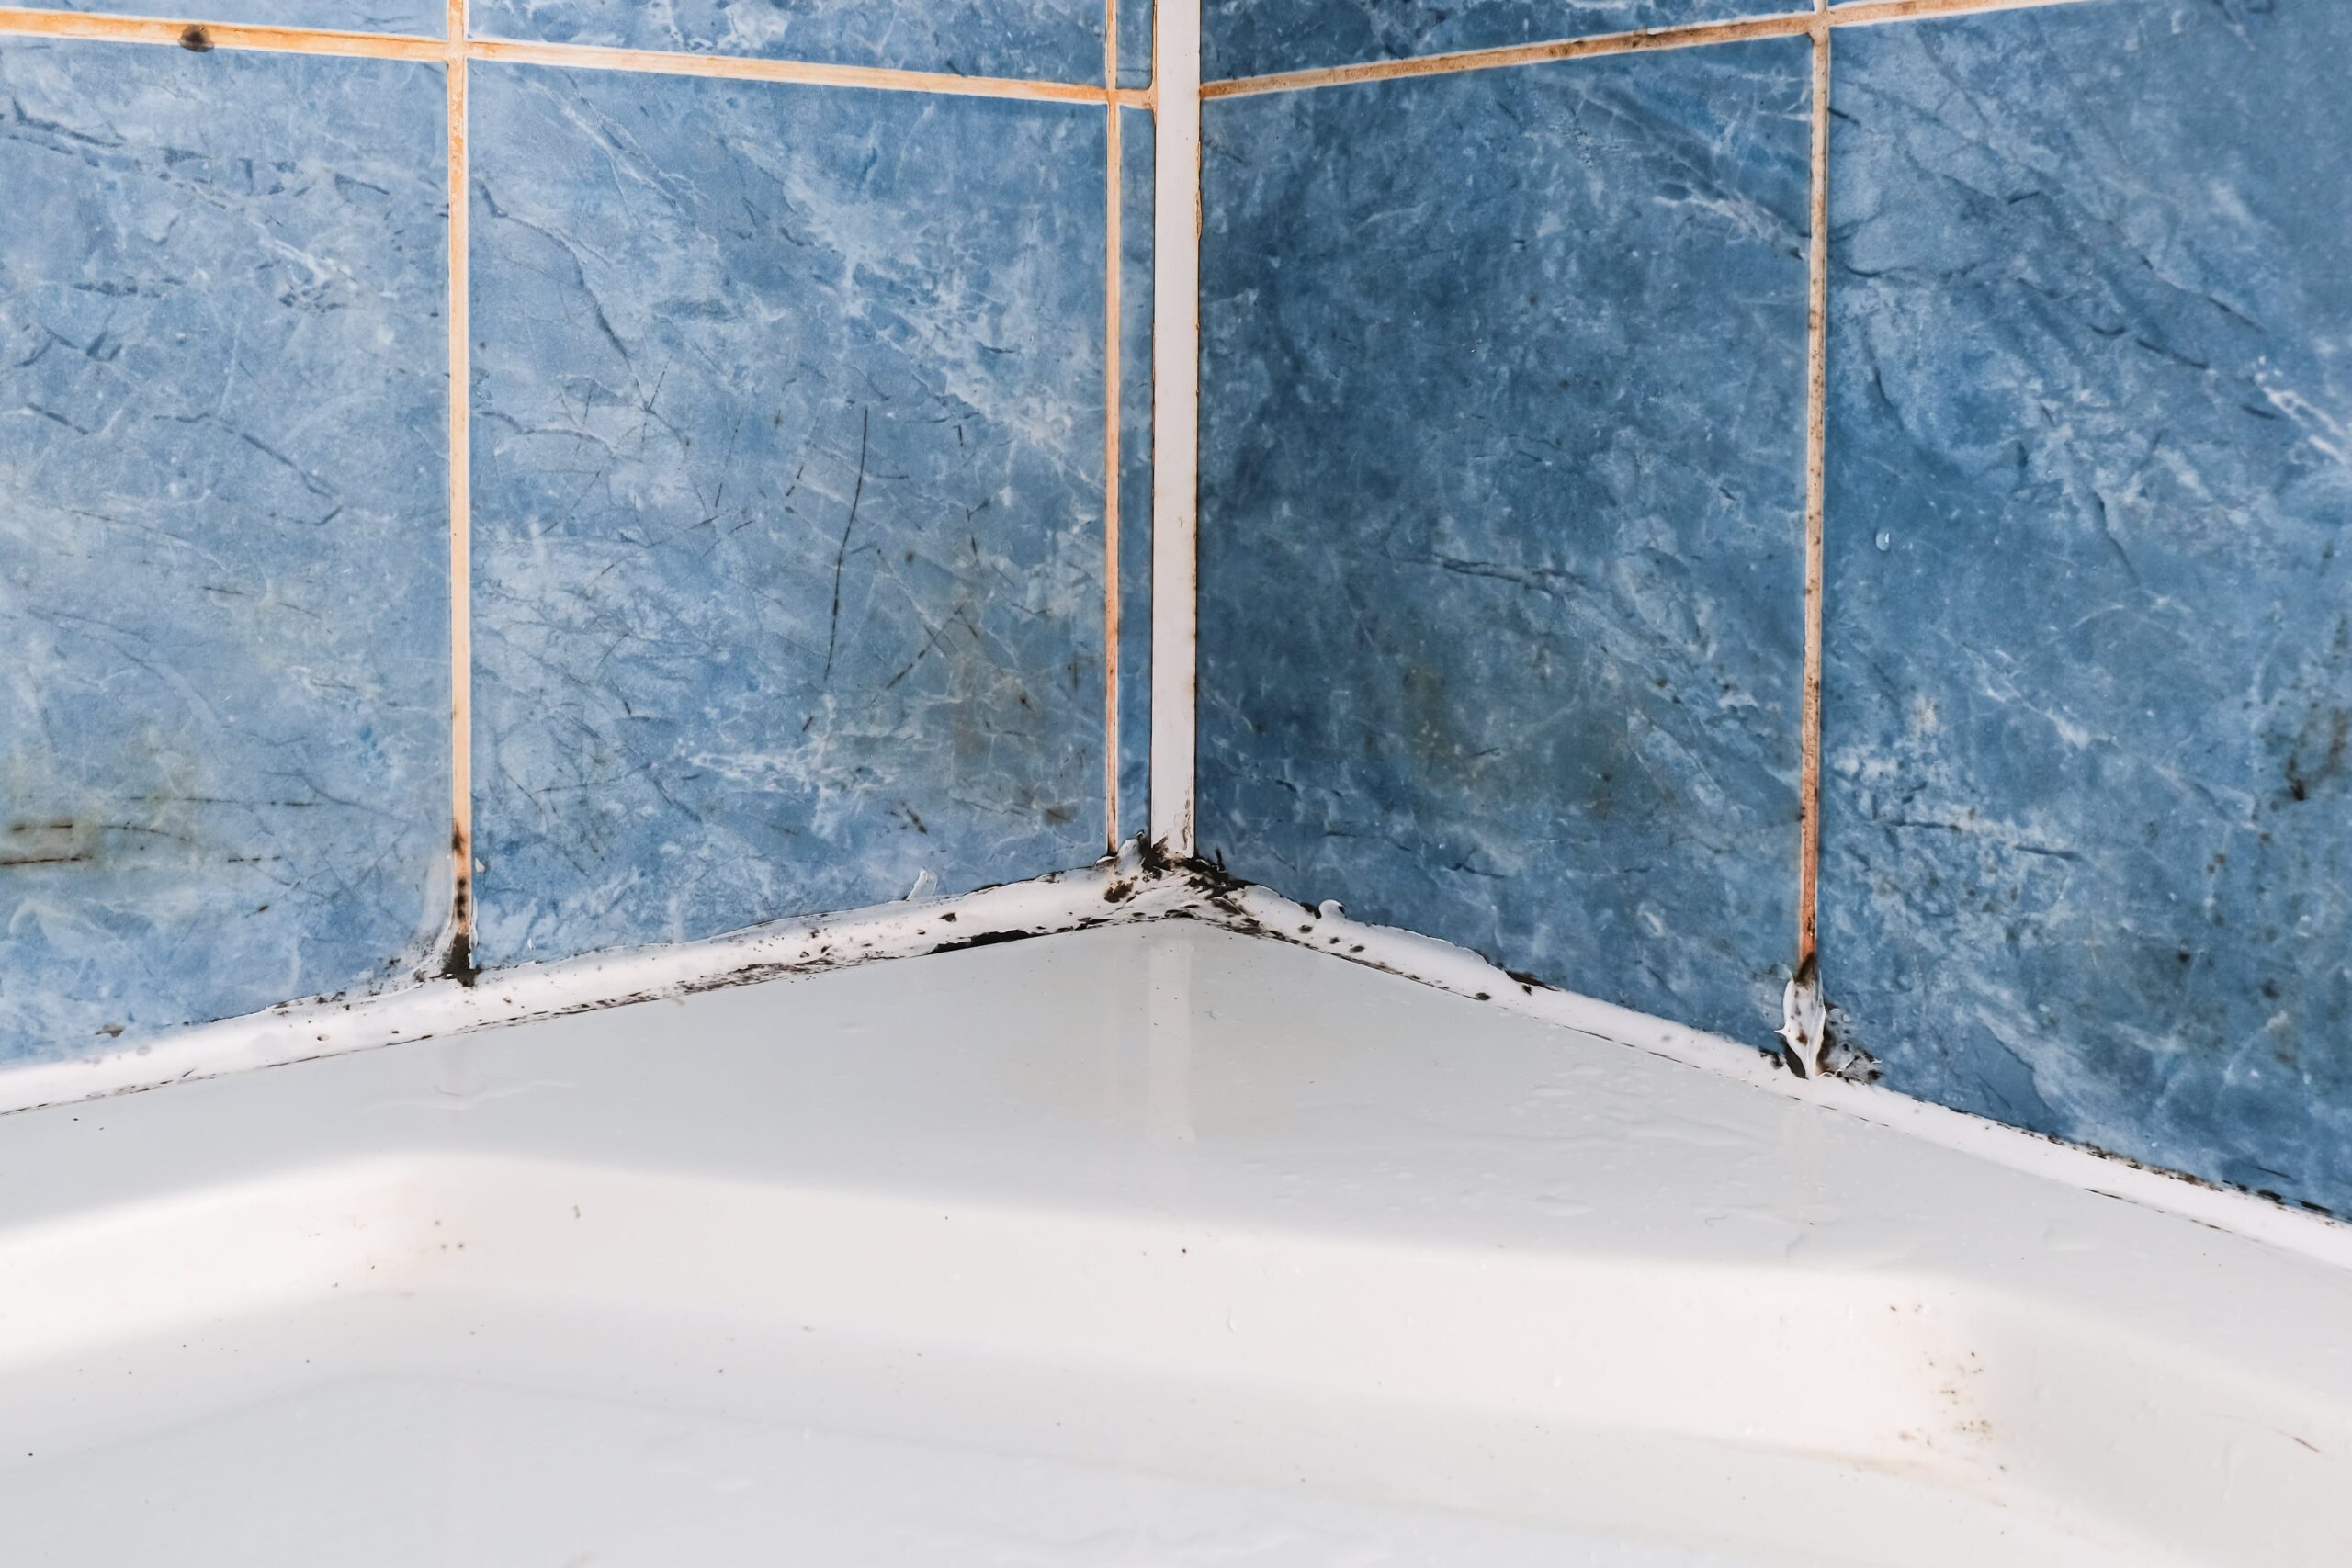
- Silicone and grout mould posing health hazards
- Reduced visibility of damage for elderly users
So, whether you’re dealing with cracked grout or tackling a mould issue, removing old grout is often the first step in refreshing your bathroom and maintaining accessibility standards.
Tools You’ll Need
There are a few basic tools required to tackle removing grout:
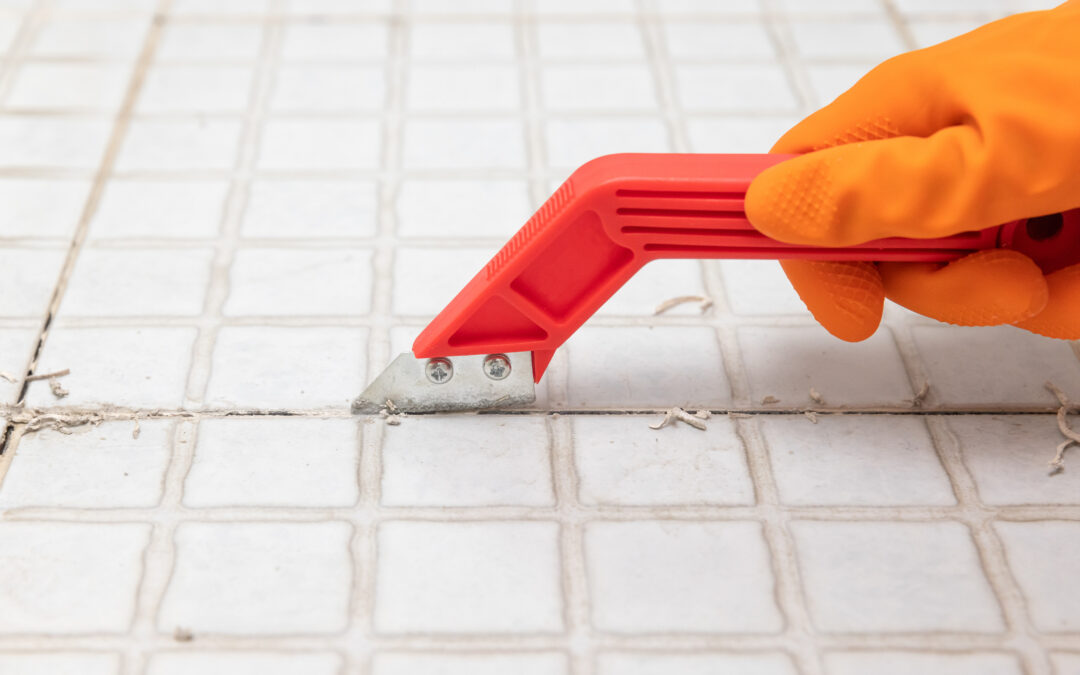
- Grout removal tool (manual or oscillating)
- Utility knife or scraper
- Dust mask and safety glasses
- Hoover or brush
- Silicone remover (for adjoining silicone areas)
- Sponge and bucket
- Mould remover (if necessary)
Optional: Multi-tool with grout removal attachment – great for larger or tougher areas.
Step-by-Step: How to Remove Grout from Tiles
-
Prepare the Area
Before removing grout, ensure the area is clean, dry, and well-lit. If you’re working in a wetroom or walk-in shower, consider taping plastic over the drain to catch debris. Clear the area of any bath aids or non-slip mats before starting. You may also want to read our guide on cleaning shower heads while you’re tackling general maintenance.
Remember, it’s crucial to wear protective gloves and eyewear, and also a dust mask if you’re working with an oscillating tool.
-
Use the Right Tool for the Job
For smaller or fiddly areas, a manual grout saw is ideal. It’s precise, less likely to damage tiles, and quiet – perfect for bathrooms where elderly users may be nearby.
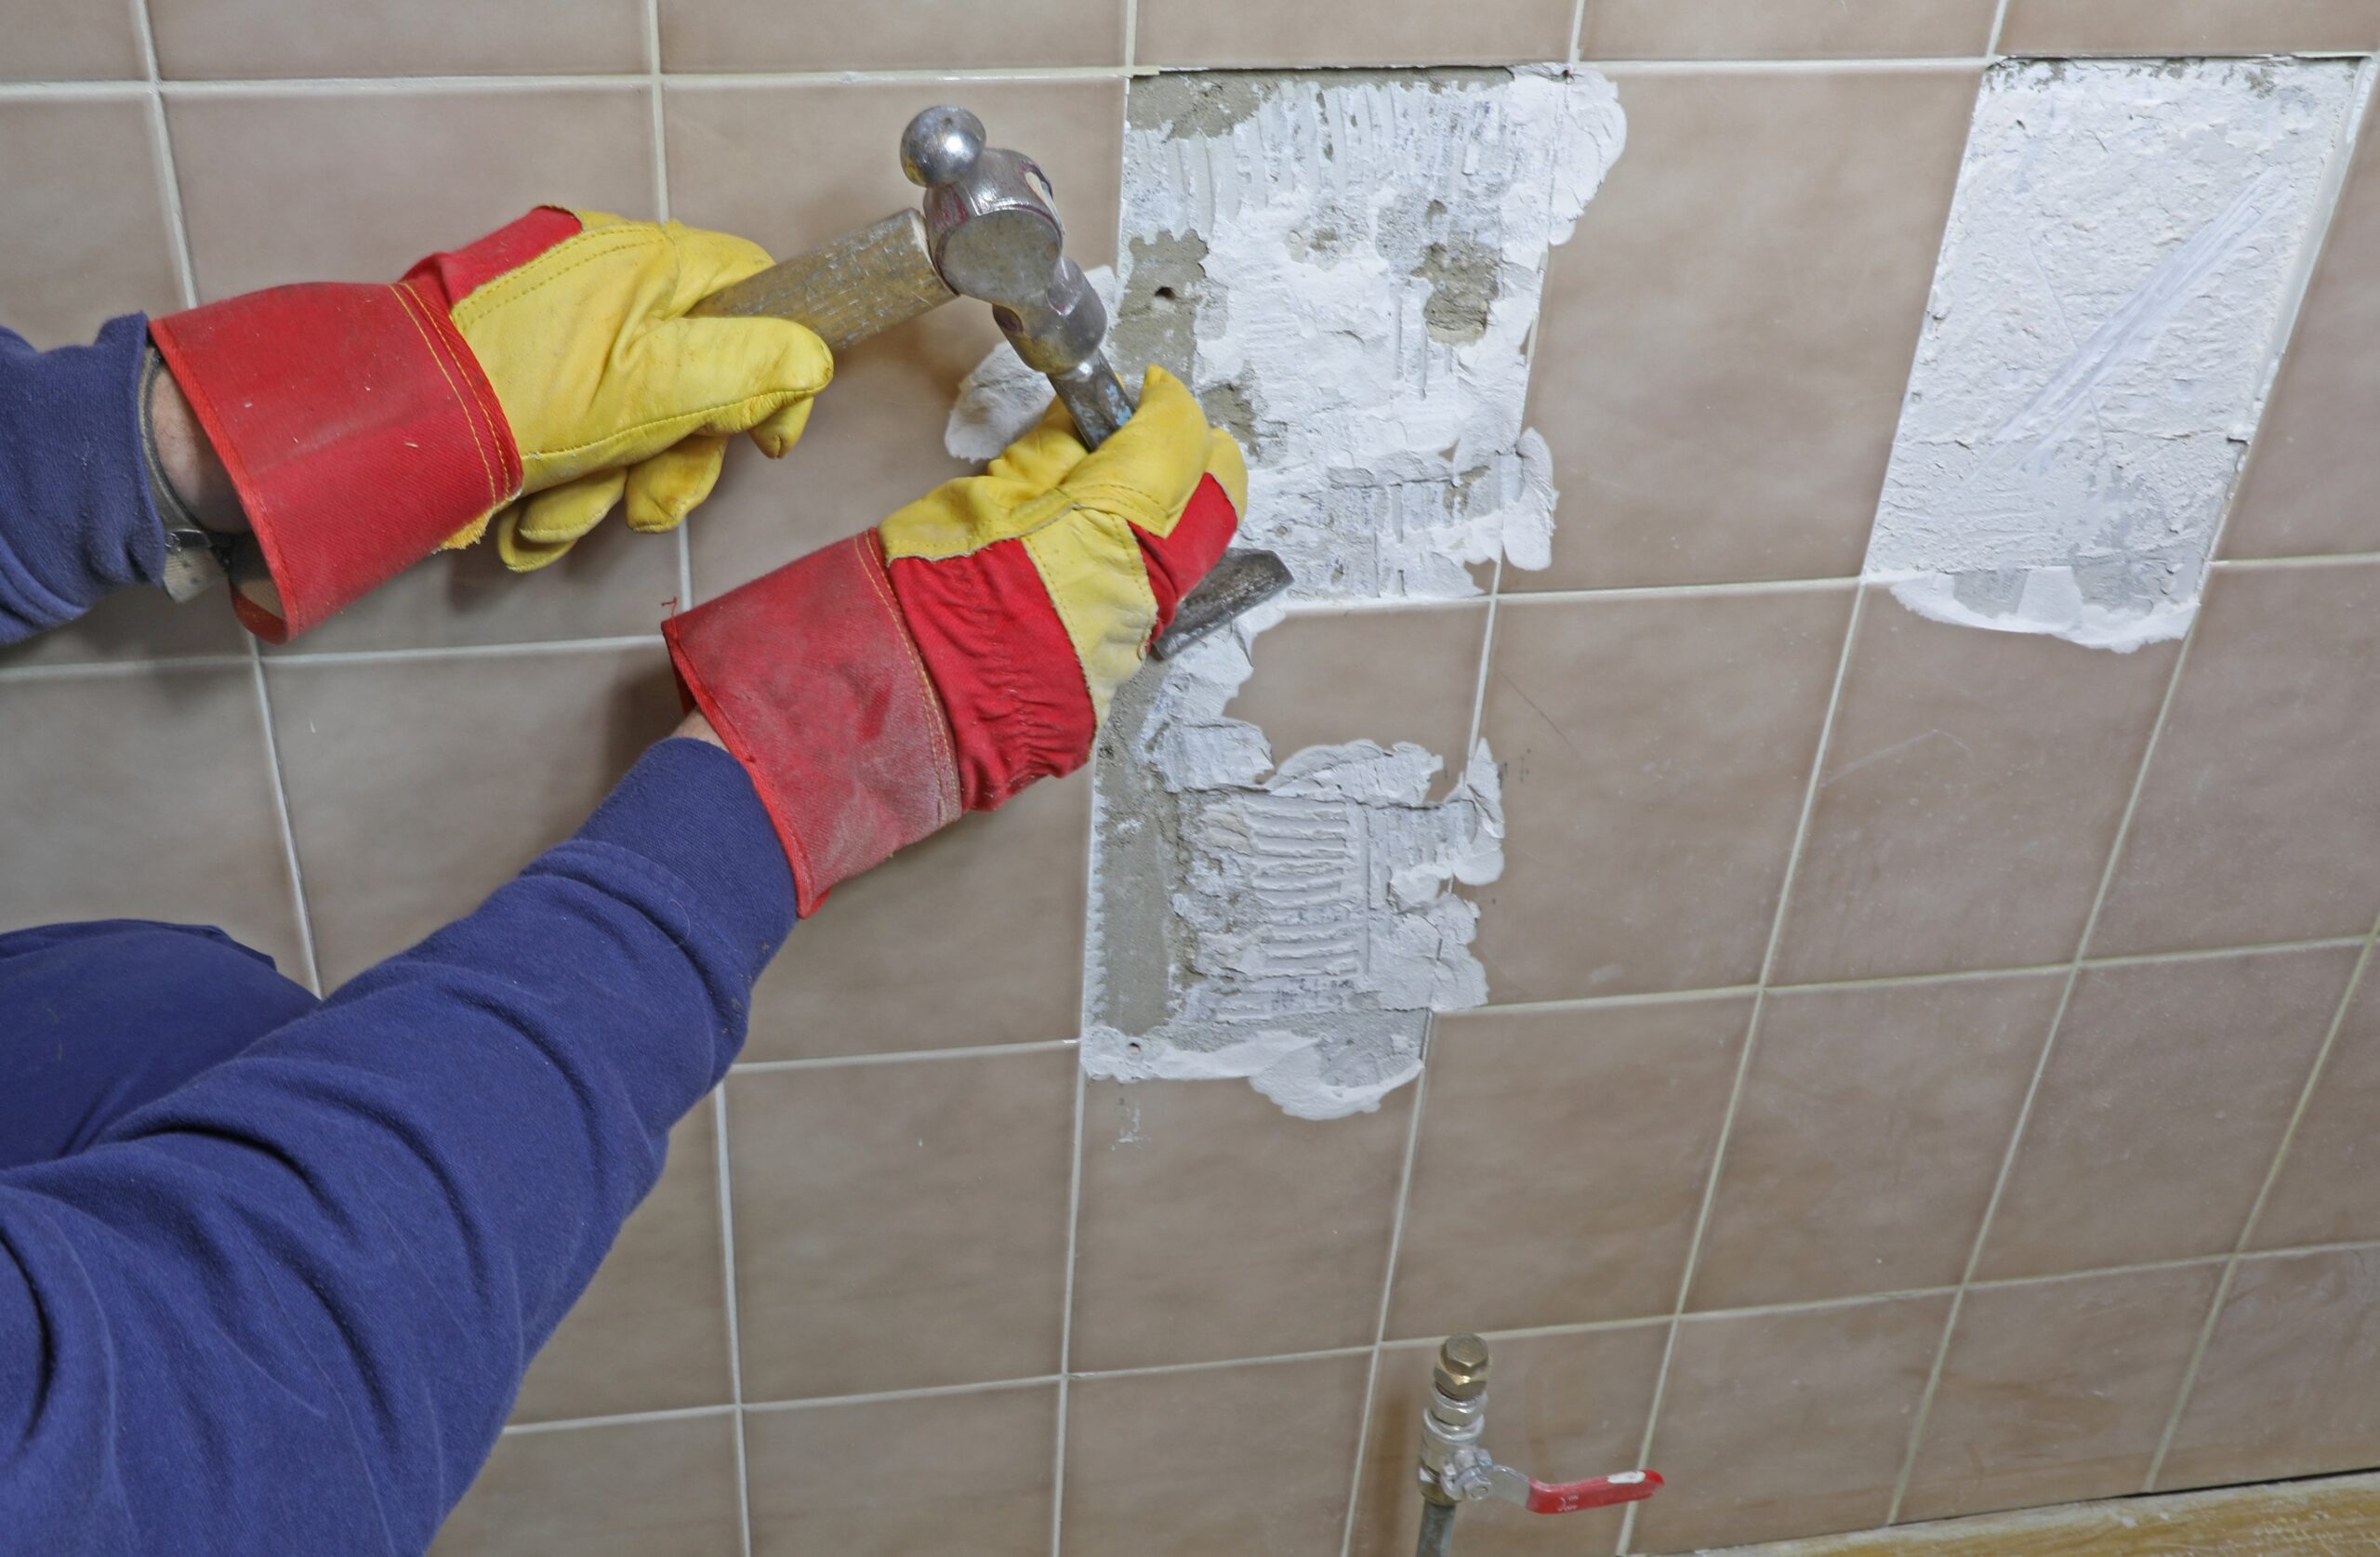
For larger or heavily damaged areas, a multi-tool with a grout removal blade speeds things up significantly. Work slowly to avoid chipping the tiles, especially in areas with non-slip flooring where replacements are more specialised.
-
Remove the Grout
Angle your tool at around 45 degrees and begin to work along the grout lines. Go slowly, removing a little at a time. Once the top layer of grout is gone, dig deeper to clear at least 3–4 mm in depth.
Take extra care around corners and joints where the silicone meets grout and tiles near grab rails or bath aids to avoid disturbing fittings.
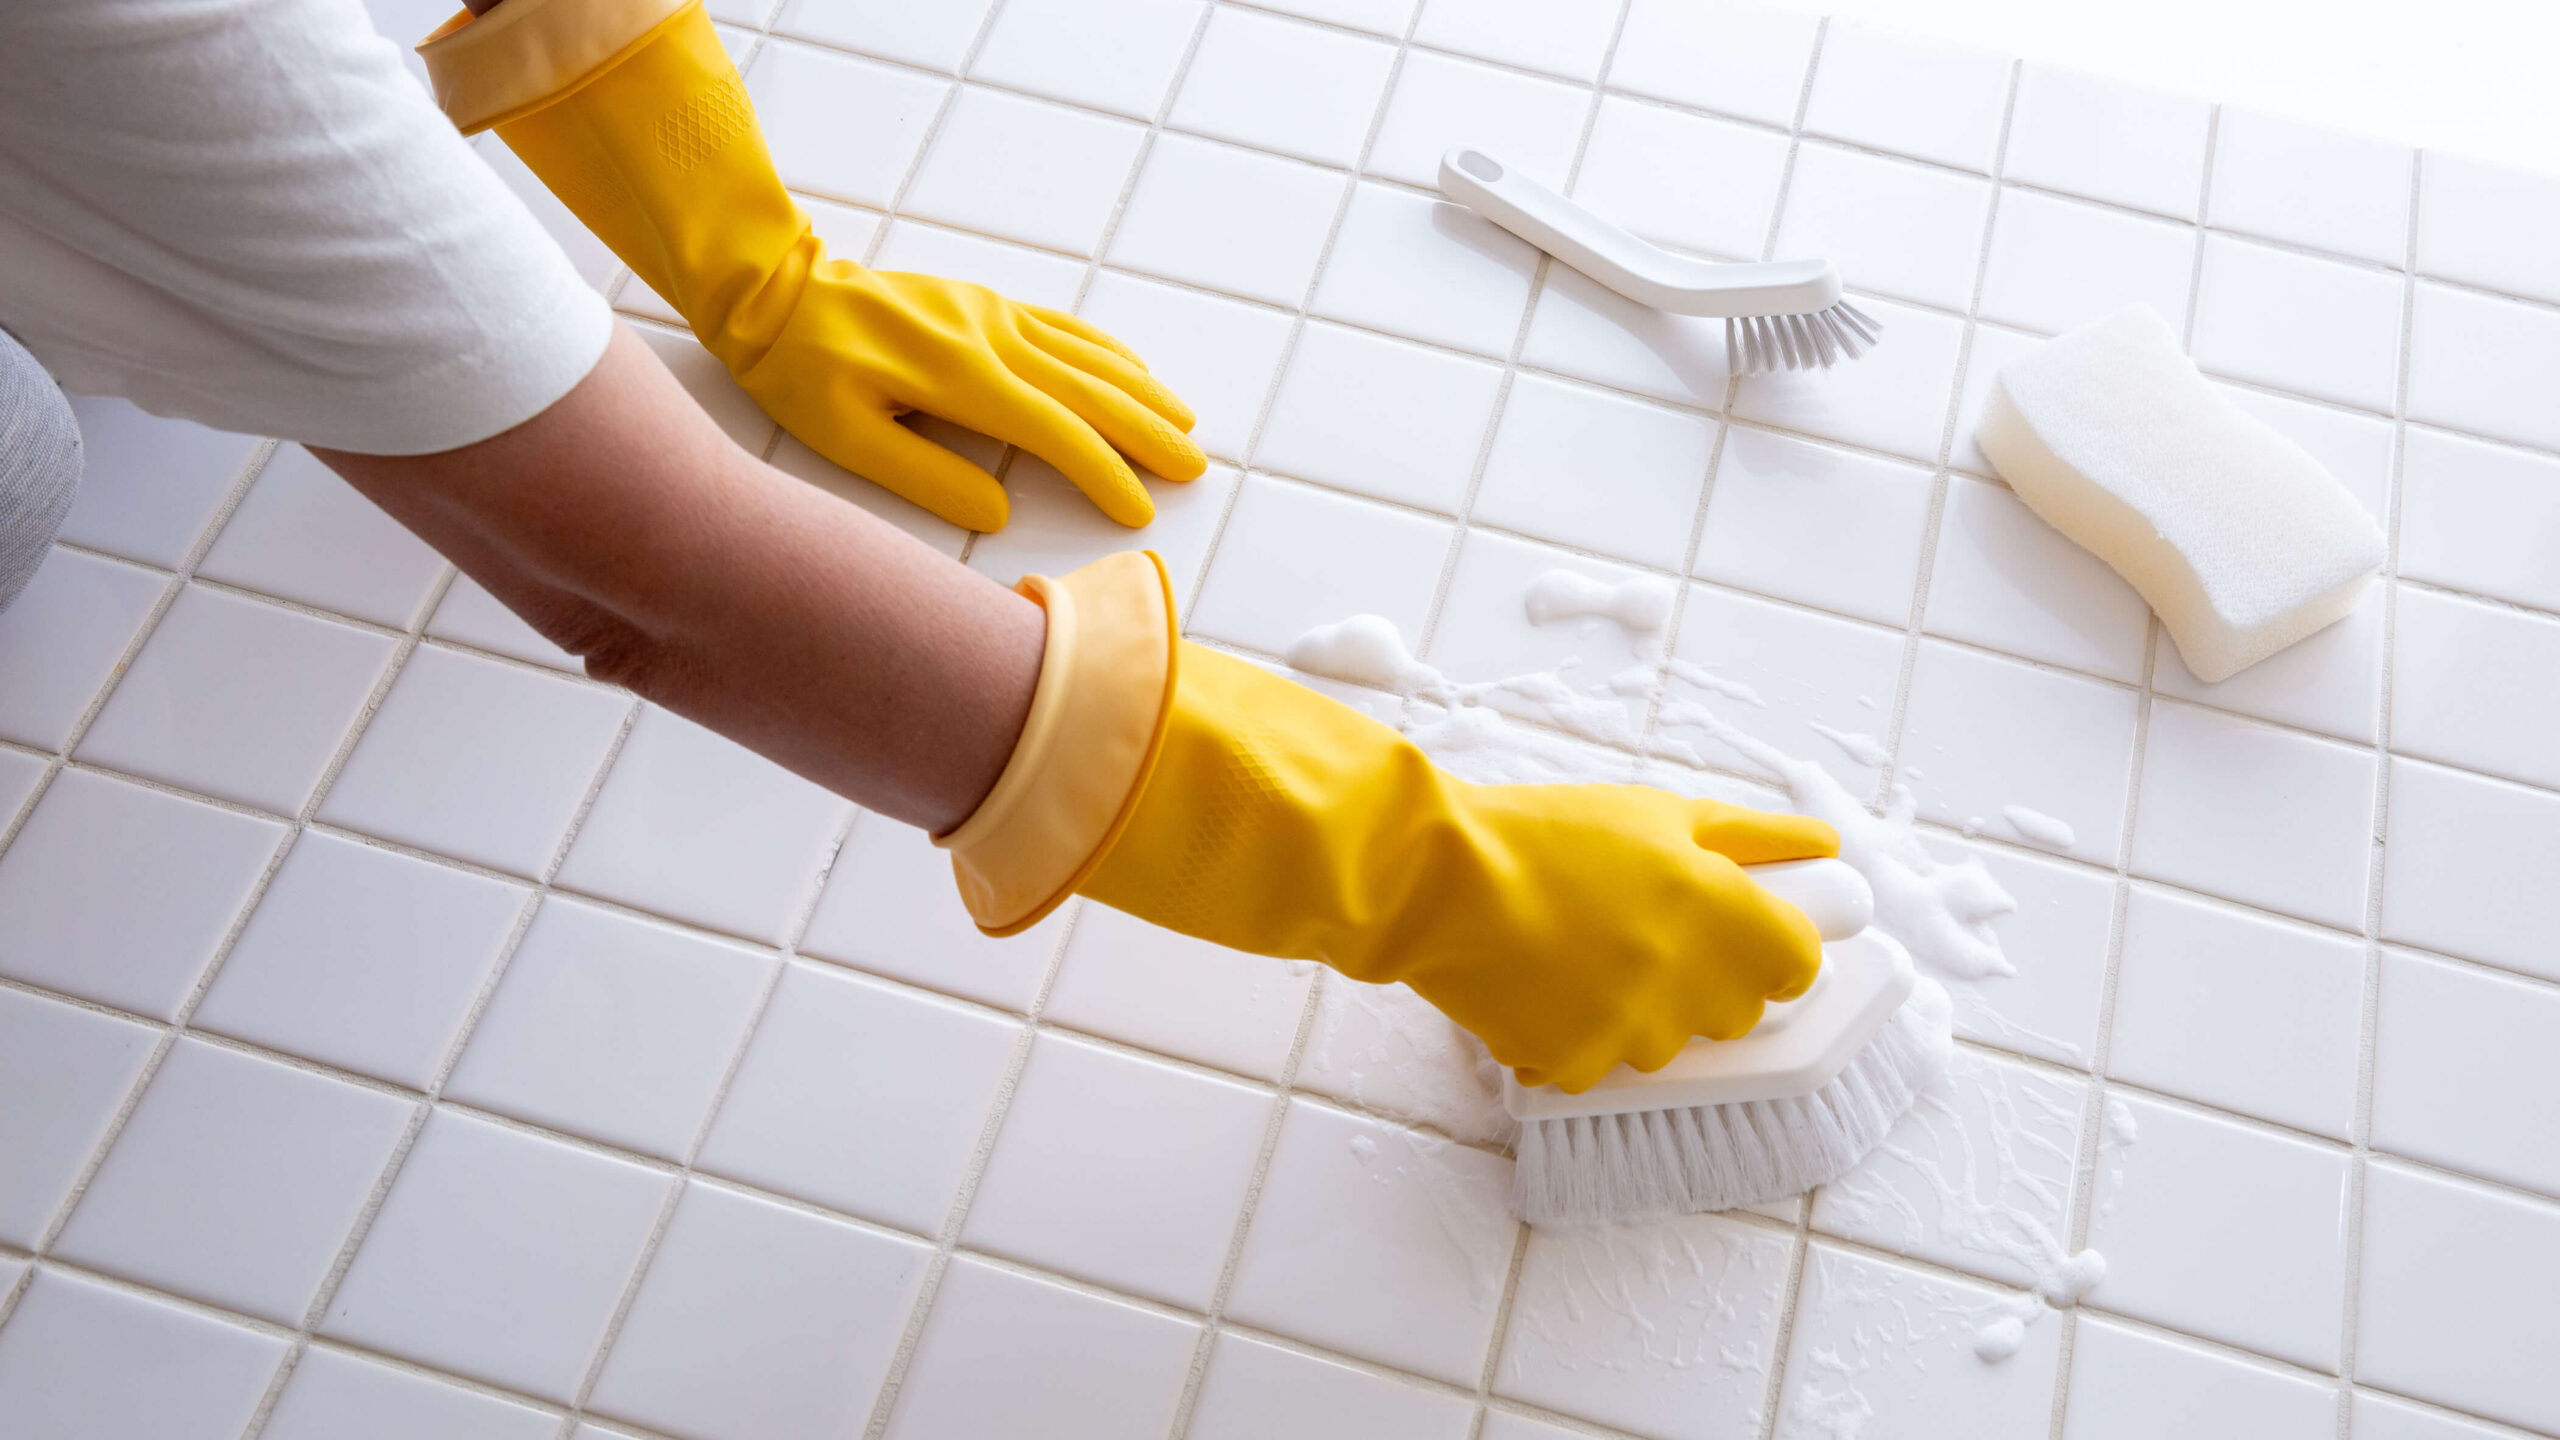
Use a hoover or brush to remove debris as you go. A clean surface will help you better assess which areas still need work.
-
Handle Mould and Silicone Carefully
In older bathrooms or those with high humidity (like wetrooms), mould can form along grout and silicone edges. Don’t simply scrub it and regrout, as this won’t fix the underlying problem.
Here’s how to remove mould from grout and silicone:
- Spray a mould remover solution onto the area
- Allow it to sit for 10–15 minutes
- Use a stiff brush to scrub it out
- Remove the silicone using a dedicated silicone remover tool or utility knife
Reapply fresh silicone only once the area is fully clean and dry. You can read more about accessible design in our post on disabled bathroom layout ideas.
-
Check for Hidden Damage
Once the grout is removed, inspect the underlying structure. Mobility bathrooms are often equipped with walk-in baths or low-threshold showers that require watertight tiling.
Things to look out for:
- Soft spots or signs of water damage behind tiles
- Mildew smell (indicating deeper damp issues)
- Loose or cracked tiles
If any of these signs appear, now is the time to address them. You may also wish to consider replacing the grout with an epoxy alternative, known for its durability and water resistance in wet room environments.
How to Remove Old Grout vs New Grout
Old grout is typically brittle and flaky, making it easier to remove with hand tools. New grout, especially polymer or epoxy-based, may require electric tools for removal. Always check the type of grout before choosing your removal method.
How to Remove Grout from Tile Without Damage
To protect your tiles:
- Use low-speed tools
- Avoid applying pressure directly to the tile edge
- Work slowly and stop if you hear cracking
If you’re working around textured non-slip tiles, like those found in wet rooms, protect the surface using masking tape as a barrier.
Aftercare: Regrouting and Resealing
Once you’ve successfully removed the grout, it’s time to regrout. Choose a grout suitable for wet environments: epoxy grout is best for mobility bathrooms as it’s non-porous and mould-resistant.
Then:
- Allow 24–48 hours to dry
- Apply sealant if you’re using cement-based grout
- Reapply silicone sealant to edges, corners and around fixtures
Need help choosing the right setup? Explore our range of walk-in showers or upgrade your space with a custom wetroom solution.
Final Tips for Caregivers and DIYers
- Tackle one wall at a time to avoid becoming overwhelmed
- Always consult with a specialist for anything complex
- Keep the bathroom dry for 48 hours post-regrouting to allow curing
If you’re helping an elderly loved one, our guide on bath aids for elderly offers further advice on keeping bathrooms safe and accessible after maintenance work.
Related Reading
Looking for more bathroom maintenance or accessibility tips?
- How to Clean a Shower Head
- Choosing a Walk-In Bath for Elderly Relatives
- Accessibility Design: Bathroom Layout Ideas
- Visit our news section for the latest updates and how-to guides
Conclusion
Removing grout from your bathroom tiles might seem daunting at first, but as this guide proves, with the right tools and preparation, it’s more than achievable. For caregivers and DIY enthusiasts alike, maintaining grout is not just about appearance—it’s about keeping the bathroom safe, hygienic, and accessible for those who need it most.
With all that in mind, happy de-grouting!
For more tips on designing and maintaining accessible bathrooms, explore our full range of bathroom solutions for mobility and care.